More Tutorials, an update!

Firstly, I hope everyone had a great Christmas & New Year! 2024 Is off to a good start, and I’m planning ahead to get a few tutorials uploaded in the coming months, the first of which is fully realised, and just needs to be recorded.


Due to my busy schedule with client work, there has been a bit of a hiatus between videos. However, now that I have some downtime, I’m eager to dedicate the necessary time and effort to produce high-quality tutorials to the best of my ability. The first tutorial I’ll be recording next week, and hopefully posting shortly after. I’ll be covering how to create a seamless floor/studio set up in Redshift and Cinema 4D. I’ll be covering 2 methods, one which is totally in camera, and another that goes into some detailed composition work to create a super editable effect. This one may be in 2 or 3 parts, that bit I haven’t quite figured out yet!

Heres what we’ll be making…

This is the version with the necessary passes reconstructed in After Effects, as well as a little trick to get some fake refractions in After Effects.

Hopefully you like what you see, and we’ll learn some cool new tricks together in the tutorial!

DREAMT FUTURES: Bonestell

Rockets, rocks, planets, people and more. This will be a tribute film to Chesley Bonestell, re-imagining a number of his artworks in an immersive experience.

The film will be released in Cinemascope format, making the environments even more captivating. A number of shots will also be delivered as standalone experiences in full 360 VR. See you on Titan.

DREAMT FUTURES Poster

If you’re interested in keeping up with the project, it’s creation will be documented here on this Blog.

DREAMT FUTURES: Bonestell coming soon page.

~ James

GUI Fun!

I’ve been messing around with World Creator recently, and wanted to give myself a small project to create some terrain for. I’m amazed at the speed you can generate some complex landscapes in, and i’m a real fan of the workflow! Here’s what I managed to whip up after a couple of days of experimentation:

Animate an Orrery (Model Solar System) with Cogs & Xpresso in Cinema 4D

I’ve been building a somewhat accurate Orrery in Cinema 4D, mainly for fun, as I certainly don’t have space for a physical one in my apartment. It’s a long-ish one, so grab a drink and a snack and lets get into it.

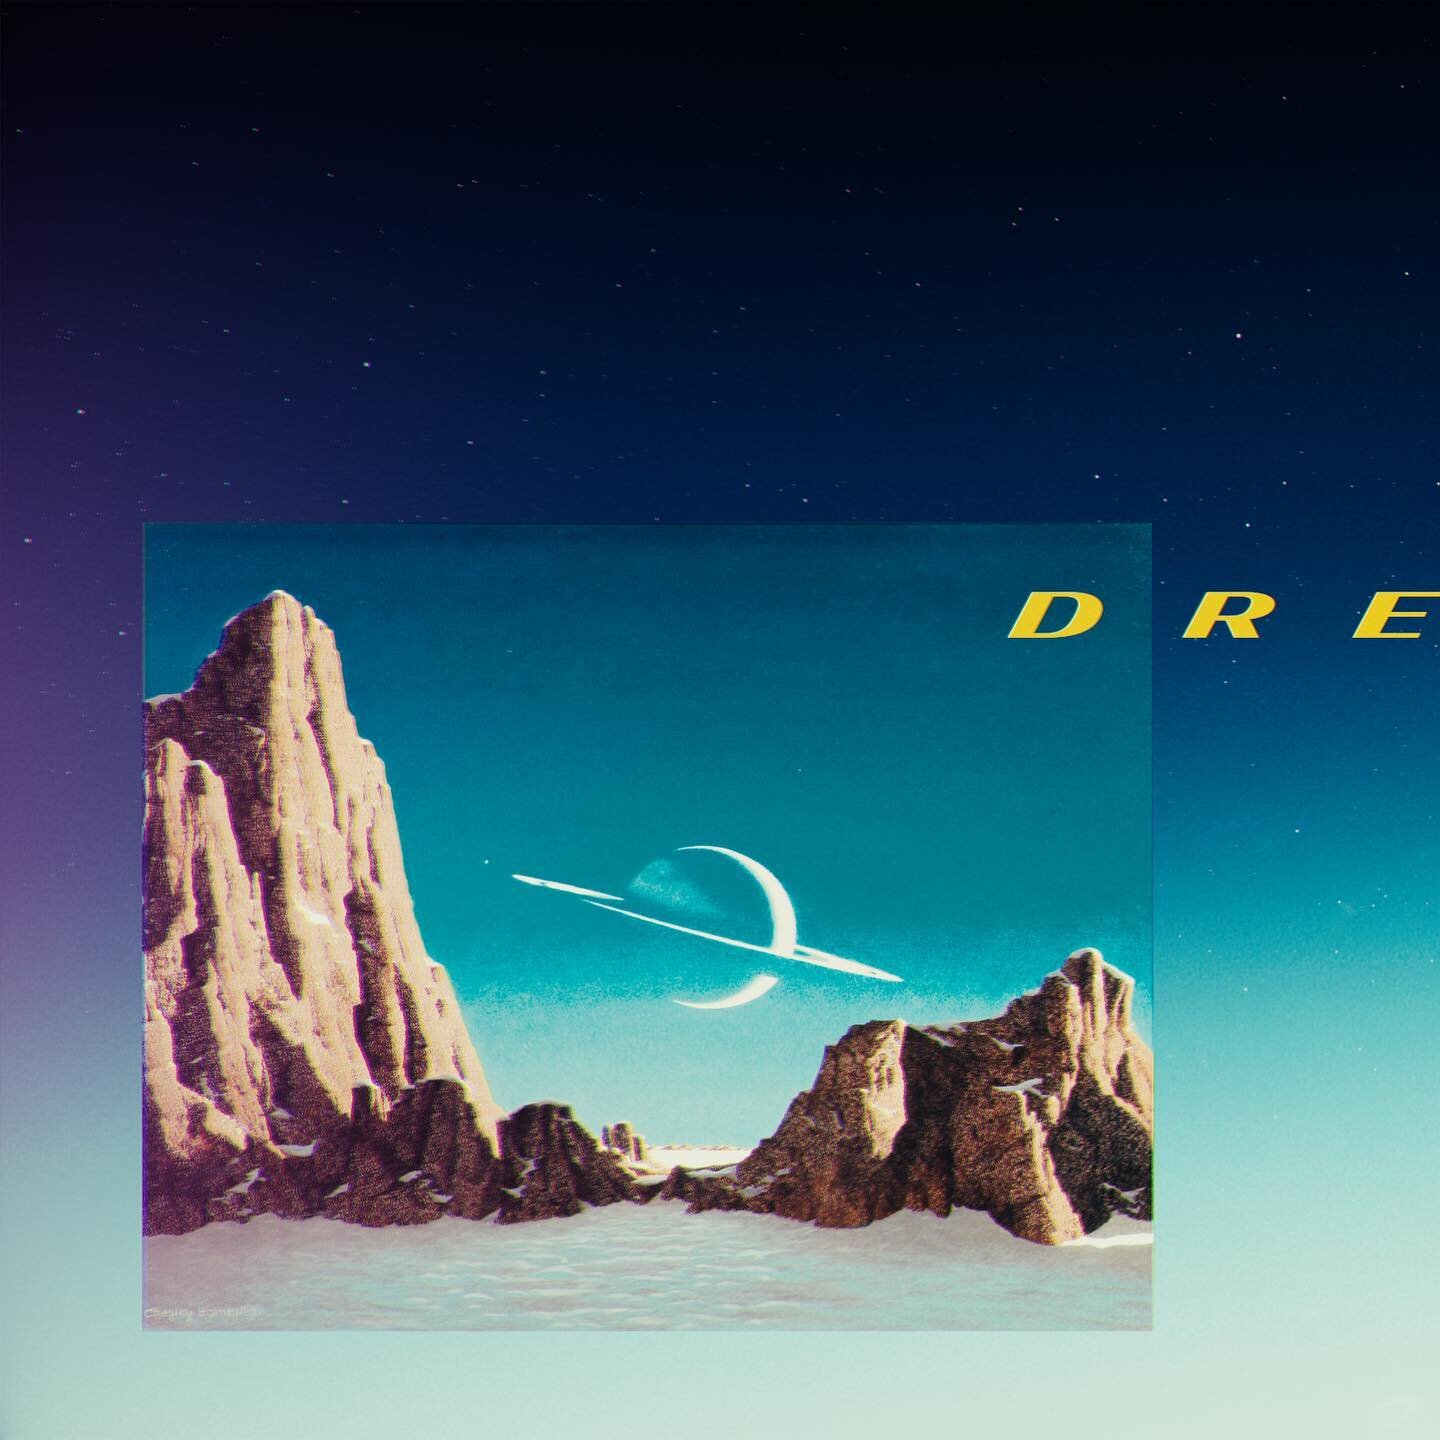
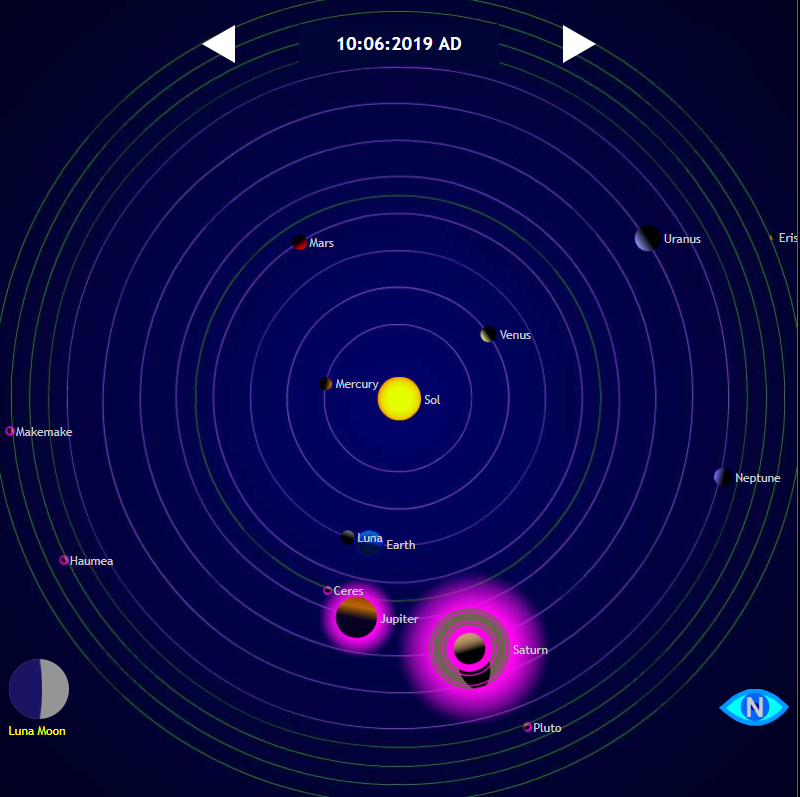
So, what on Earth is an Orrery?

It’s basically a mechanical model of the solar system, usually driven by a system of gears and cogs. Now for our 3D Orrery it’s possible to cheat it completely as we don’t need to be restricted by the real world limitations of cogs, but where is the fun in that? I thought a fun experiment would be to have functioning gears that drive the positions of the planets, as they would in reality.

Now before we get into the 3D side of things, I want to give a shout-out to Dragonator on the Instuctables forum. I based the solar system model around the design of his Orrery, and it functions in a very similar way, however our calculations are going to be slightly different. Let’s get started.

Part 1: The Moon and the Math

If math isn’t your thing, don’t worry. It’s simple and we’re going to take it step by step. We will go over it many times through this how-to. Lets first look at how cogs work in an orrery. We’re going to focus on the Earth’s orbit around the Sun, and the Moon’s orbit around Earth. We can control this whole movement with a really simple 2 cog set up.

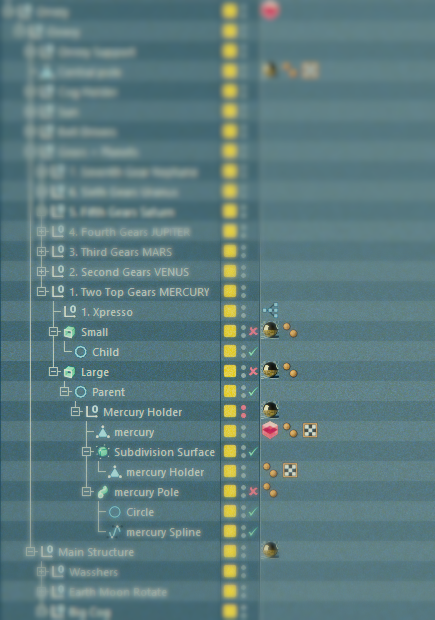
Firstly, we need a value we can base our cog calculations on, this needs to be a whole number, as it will equal an amount of teeth on a cog. In our orrery this value will be 13. We’re going to use 13 because it’s how many times our Moon orbits us (Earth) in one year. Well, it’s precisely 13.336874634, so we have to round this number down to 13, as we want something easily divisible, and whole. You can reach much more precise numbers by adding more cogs of varying size, but this quickly gets complicated, and I’m a CG artist, not a mathematician or watchmaker! Keeping it simple, we’re going to need a Cog with 13 teeth. This first cog will sit underneath where planet Earth will be, and will drive the rotation of the Moon.  We know the Moon will need to revolve 13 times as the Earth rotates around the Sun once, giving us our year. To achieve this, the 13 toothed cog will rotate around a larger cog with 13² teeth (169). (For your big cog, you need to have a number of teeth that your smaller cogs teeth can multiply to. This assures the cog teeth will perfectly intersect.)

From this set up, we can get Earth going around the Sun, and for every revolution of Earth, the moon will rotate around earth 13 times which is just what we were aiming for. Let’s have a look at how to set it up inside Cinema 4D.


Part 2: The 3D

Gif compression makes it appear the smaller cog isn’t rotating… It is, it’s just perfectly in sync with the frame rate!

Gif compression makes it appear the smaller cog isn’t rotating… It is, it’s just perfectly in sync with the frame rate!

Above is how the gears are positioned in the 3D scene, and below is the hierarchy in the Object Manager.

Firstly, create a Null in the centre of your scene. this will act as the rotational axis for Earth, and also the location of the Sun.

Next, create your first cogwheel spline and name it ‘Earth Orbit’ or something similar. Leave this at the centre of your scene, and set it’s orientation to ‘XZ’. You will need to do this for EVERY cog we are creating, so get in the habit now! Give the cog the 169 teeth we talked about earlier (13²).

Create a second cogwheel spline and name it ‘Moon Cog’, and give it 13 teeth (√ 169). Position it by adjusting its position in Z space, so that the teeth are just intersecting the gaps between the teeth of your larger ‘Earth Orbit’ cog.

Now we need to animate all of this. It doesn’t really matter how long the timeline is, but for simplicity’s sake I went for 360 frames, so we have 1 degree of rotation for Earth, for each frame in the animation. Note that if we are starting at frame 0, frame 359 is the 360th frame, not frame 360, as 0 still counts as an integer!

The Null that we created to act as the parent for our Moon cog is what we’ll animate first. You can rename this Null to something like ‘Rotate H’, as that is what we’re going to do next. Set a keyframe at frame 0 in the H rotation, then go to frame 359 and set another keyframe with the value of 360. Make sure the keyframes interpolation is set to linear, so we don’t get any acceleration or deceleration. All keyframes involved with cog movement will need to have a constant (linear) speed.

Now select the ‘Moon Cog’, and at frame 0 set a keyframe in the B rotation. Now go to frame 360, and in this same field, type in 13*360. This will result in a value of 4680, which equals 13 full rotations around Earth. Agian, be sure that the keyframe is set to linear interpolation.

screenshot 2.png

The set up for animation is now complete for the Earth, Moon and Sun. We won’t be going into details about adding in the geometry, however if you do, simply apply these same animated parameters to the extrude on the spline itself, as otherwise at render time, the cog geometry will have to be re-calculated on each frame, rather than just on frame on, and could cause phong & normal shading discrepancies between frames.

Part 3: The Planets

Save what we’ve made so far, and open a new scene, so we have a blank canvas to work with.

Let’s get started on some of the other planets to see how they function. The idea in practice is the same, however we’re going to use some very simple Xpresso to automate the animation for us. These cogs will function more like a gear, so a smaller cog will be driving a bigger cog in the opposite direction.

Just as a heads up, you can handle all your Xpresso in one tag, or have an individual tag on each gear system, personally I’d recommend having everything in one tag to keep things simple, as you may want to be copy and pasting nodes to speed things up.

To start off, we need to do some calculations to work out how far around the orrery each planet will move throughout one year (1 rotation of Earth). Let’s first compile some data on how long a year is on each of the planets. I’ve compiled a simple graph to visualise the speed each planet will rotate for reference, and we’ll dive into the numbers below. The higher the number on the Y axis, the the slower the orbit.

Planetary Orbits in Earth Years

What I really loved about compiling the data was seeing that the graph was exponential, with each orbit almost doubling in time taken as you move from one planet to the next. Here are the actual values rounded to the closest 1st decimal place, other than Mercury. You can be as precise with these numbers as you want to be however.

  • Mercury - 0.25

  • Venus - 0.6

  • Earth - 1

  • Mars - 1.9

  • Jupiter - 11.9

  • Saturn - 29.5

  • Uranus - 84

  • Neptune - 164.8

These numbers will be used as a divider of 360° to get our orbit speed, which we will get into shortly. We again need to make 2 cog splines to drive the rotation. Lets start with Mercury.

Mercury Gear Set up, 10 teeth on smaller cog, 20 on larger.

Mercury Gear Set up, 10 teeth on smaller cog, 20 on larger.

Similarly to how we set up the Earth, Moon and Sun system, we need to find 2 numbers that divide into each other as whole numbers. However lets firstly think about how this gear is going to be moving.

From the data we have compiled, we know a year on Mercury is around .25 of an Earth year, meaning it makes 4 rotations around the Sun for every 1 Earth year (1/.25 = 4). Now we need to take 360 and multiply that by 4, this will give us how many degrees of rotation Mercury will make, which is 1440°. This gear system will be moving the fastest out of all the cogs, so choosing numbers to represent the cog teeth that a relatively similar will stop one of the gears from moving at a crazily fast speed. For my set up I went with 10 for the small gear and 20 for the large gear. I suggest you do the same to make following along easier. Make sure you have this set up with the smaller cog positioned so it has a tooth perfectly between two of the teeth on the larger gear.

Before we start with the initial keyframes, we need just one more piece of data. We need to find where the planets are in relation to Earth around the Sun. For my orrery, i looked up current positions of the planets on https://www.theplanetstoday.com/. I then roughly estimated how far around the orbit each planet was, imagining Earth is at 0°.

Planet locations as of 10/06/2019: https://www.theplanetstoday.com/ as seen from the Northern Hemisphere.

Planet locations as of 10/06/2019: https://www.theplanetstoday.com/ as seen from the Northern Hemisphere.

So, using the above image as an example, we’ll take Earth as our starting point (), and estimate that Mercury is 270° degrees around it’s orbit. Starting with the Large cog, keyframe this to linearly animate from 270° at frame 0, to 1710° at frame 359 (360*4+270) in the Rotation. H around it’s centre.

You can use this same approach to find the starting point for each of the planets. (For example, Jupiter would be 0°, Saturn would be 20° and Venus would be around 125°, and so on.)

Tip: To make the numbers a little easier to read, after setting the initial starting position for each planet’s larger gear, try freeze transformations. It’s important to do the same for our smaller gear too once its positioned.

Our smaller cog should ow be animated to rotate. Now it’s time to set up the Xpresso, which is very straightforward!

Tip: In the timeline manager, go to Functions -> Track After -> Repeat After. This will make the animation loop.

Part 4: Xpresso

This is what we’re aiming for!

This is what we’re aiming for!

So hopefully you’ve made it this far, and have your 2 cogs set up, with the larger of the 2 animated. This large gear is the one which will drive the orbit speed. We’ve cheated by animating the larger one first, as in reality it would be driven by the smaller cog. In the example above, a spline has simply been drawn and swept to act as an arm to hold the planet, and set as a child of the large gear so it inherit it’s rotation.

Create a Null at the centre of your scene, and call it ‘Mercury_Gears’ or something similar. Create another Null at the centre of the scene and call it ‘Mercury Xpresso’ or something similar. Drop this into the first null we created (Mercury_Gears). Now we can put everything else we’ve made for Mercury into this main null too, to keep everything tidy and easy to find.

Here’s how I had everything set up in the Object Manager.

Here’s how I had everything set up in the Object Manager.

Drop an Xpresso tag on the ‘Mercury_Xpresso’ null, open it up, and lets get started. I would suggest reading thorough the section below before trying it in practice, as you will have a better understanding of why we are doing certain things that way.

This is what our finished Xpresso set up will look like.

This is what our finished Xpresso set up will look like.

The first thing we want to do is drag our animated ‘Large’ cog into the Xpresso workspace so we can access it’s data. Dragging it into Xpresso will create a node for us to work with. Click the red box in the top right corner of the node, and add Coordinates > Rotation > Rotation. H as an output. Now we want to add a Math node (You can search for these nodes but clicking the magnifying glass icon on the left of the workspace, the node we want is called ‘Math:Add’). Once we’ve added this node to the workspace we want to change it’s function from add to Multiply, and connect the Rotation. H from ‘Large’' to Input [1] of this node.

Alright, lets hold here and talk about why we are multiplying this value. We’re going to need to go back to our cogs and teeth, in Mercury’s case, 20 for the large one, and 10 for the small one. We have to take our large number and divide it by the smaller one. The result of that division is the factor we need to divide our large gears rotation by to drive the smaller cogs rotation speed.

In this case, 20/10 is 2, so we must set the parameter for Math nodes Input [2] to -2. We MUST add the ‘-’ as this turns the multiplication into a division instead. The smaller gear has to rotate in the OPPOSITE direction to the larger one, at double the speed. This function is the same for all the planets, for example:

  1. Let’s say we’re working with some larger cogs for a planet like Jupiter for this example. We will have to chose whole numbers that divide into each other with no remainder. Lets say our large cog has 77 Teeth, and our smaller one has 11. The simple calculation we have to do is 77/11 = 7. So our Input [2] for our Multiply node must be -7. Remembering the ‘-’ symbol to set the smaller gear to rotate in the opposite direction, and in this case at 7x the speed of the large one.

Now we understand the math, set the output of the Multiply node to drive the Rotation .H of the smaller gear, and optionally use a result node to check what the output value is. You can also add a result node to Rotation .H value of our ‘Large’ cog. You’ll notice the output rotation of our Math node is double the input, but negative.

You can now merge this scene into our first one and see how it looks with with them animating together.

Final Notes

And that is how the set up works! The process needs to be repeated for each planetary system. Remember you can use whichever numbers you’d like for the gear teeth as long as they divide into each other. The most important factor for accuracy is the degrees of rotation that a planet will make it around the sun, which we manually keyframe (check back to Part 3 if you need a re-cap!)

Hopefully this write up taught you something new, and you’re now equipped with the knowledge to create the rest of the planets and animate them with cogs.

Please leave any questions below, or email me directly at contact@jamestf.com

36DaysOfType05

Hey Everyone,

As usual it's been quite some time since my last post, but I thought I'd update with some recent non-commercial work.

For it's fifth edition I decided to finally take part in 36 Days of type, and it was a great experience. I've created a portfolio section on my website with some of my creations which you can take a look at here: http://jamestf.com/#/36daysoftype05/

As i'm sure most of you are aware this is a competition that takes place on Instagram, my handle over there is @james.tf

I'm going to keep this one fairly short, and as usual if there are any questions about any of my letters don't hesitate to ask me any questions either here on via my email, contact@jamestf.com

Featured Posts:

#D by @james.tf

A post shared by 36daysoftype (@36daysoftype) on

#Y by @james.tf

A post shared by 36daysoftype (@36daysoftype) on