Hey folks, here’s something I’ve been chipping away at for a little while now. I’ll have a full post on some of the processes I went through to create this shot, but for now, here’s a teaser of whats to come!
The Making of 'The Interstellar Medium' #7 - Modeling & Texturing Pioneer
So this probably should have been the first blog post in this series, seeing as it was the first thing that I did - however this model went through so many changes that it's only now at the end of creating the film I have something to show off!
The main focus of the film (as i'm sure you are aware if you've read my other posts) are the Pioneer Probes 10 & 11. Both probes are extremely similar, the only main difference being Pioneer 11 carried an extra instrument to measure the magnetic fields of Jupiter and Saturn, however for easy I created just Pioneer 11, as the difference was almost impossible to spot.
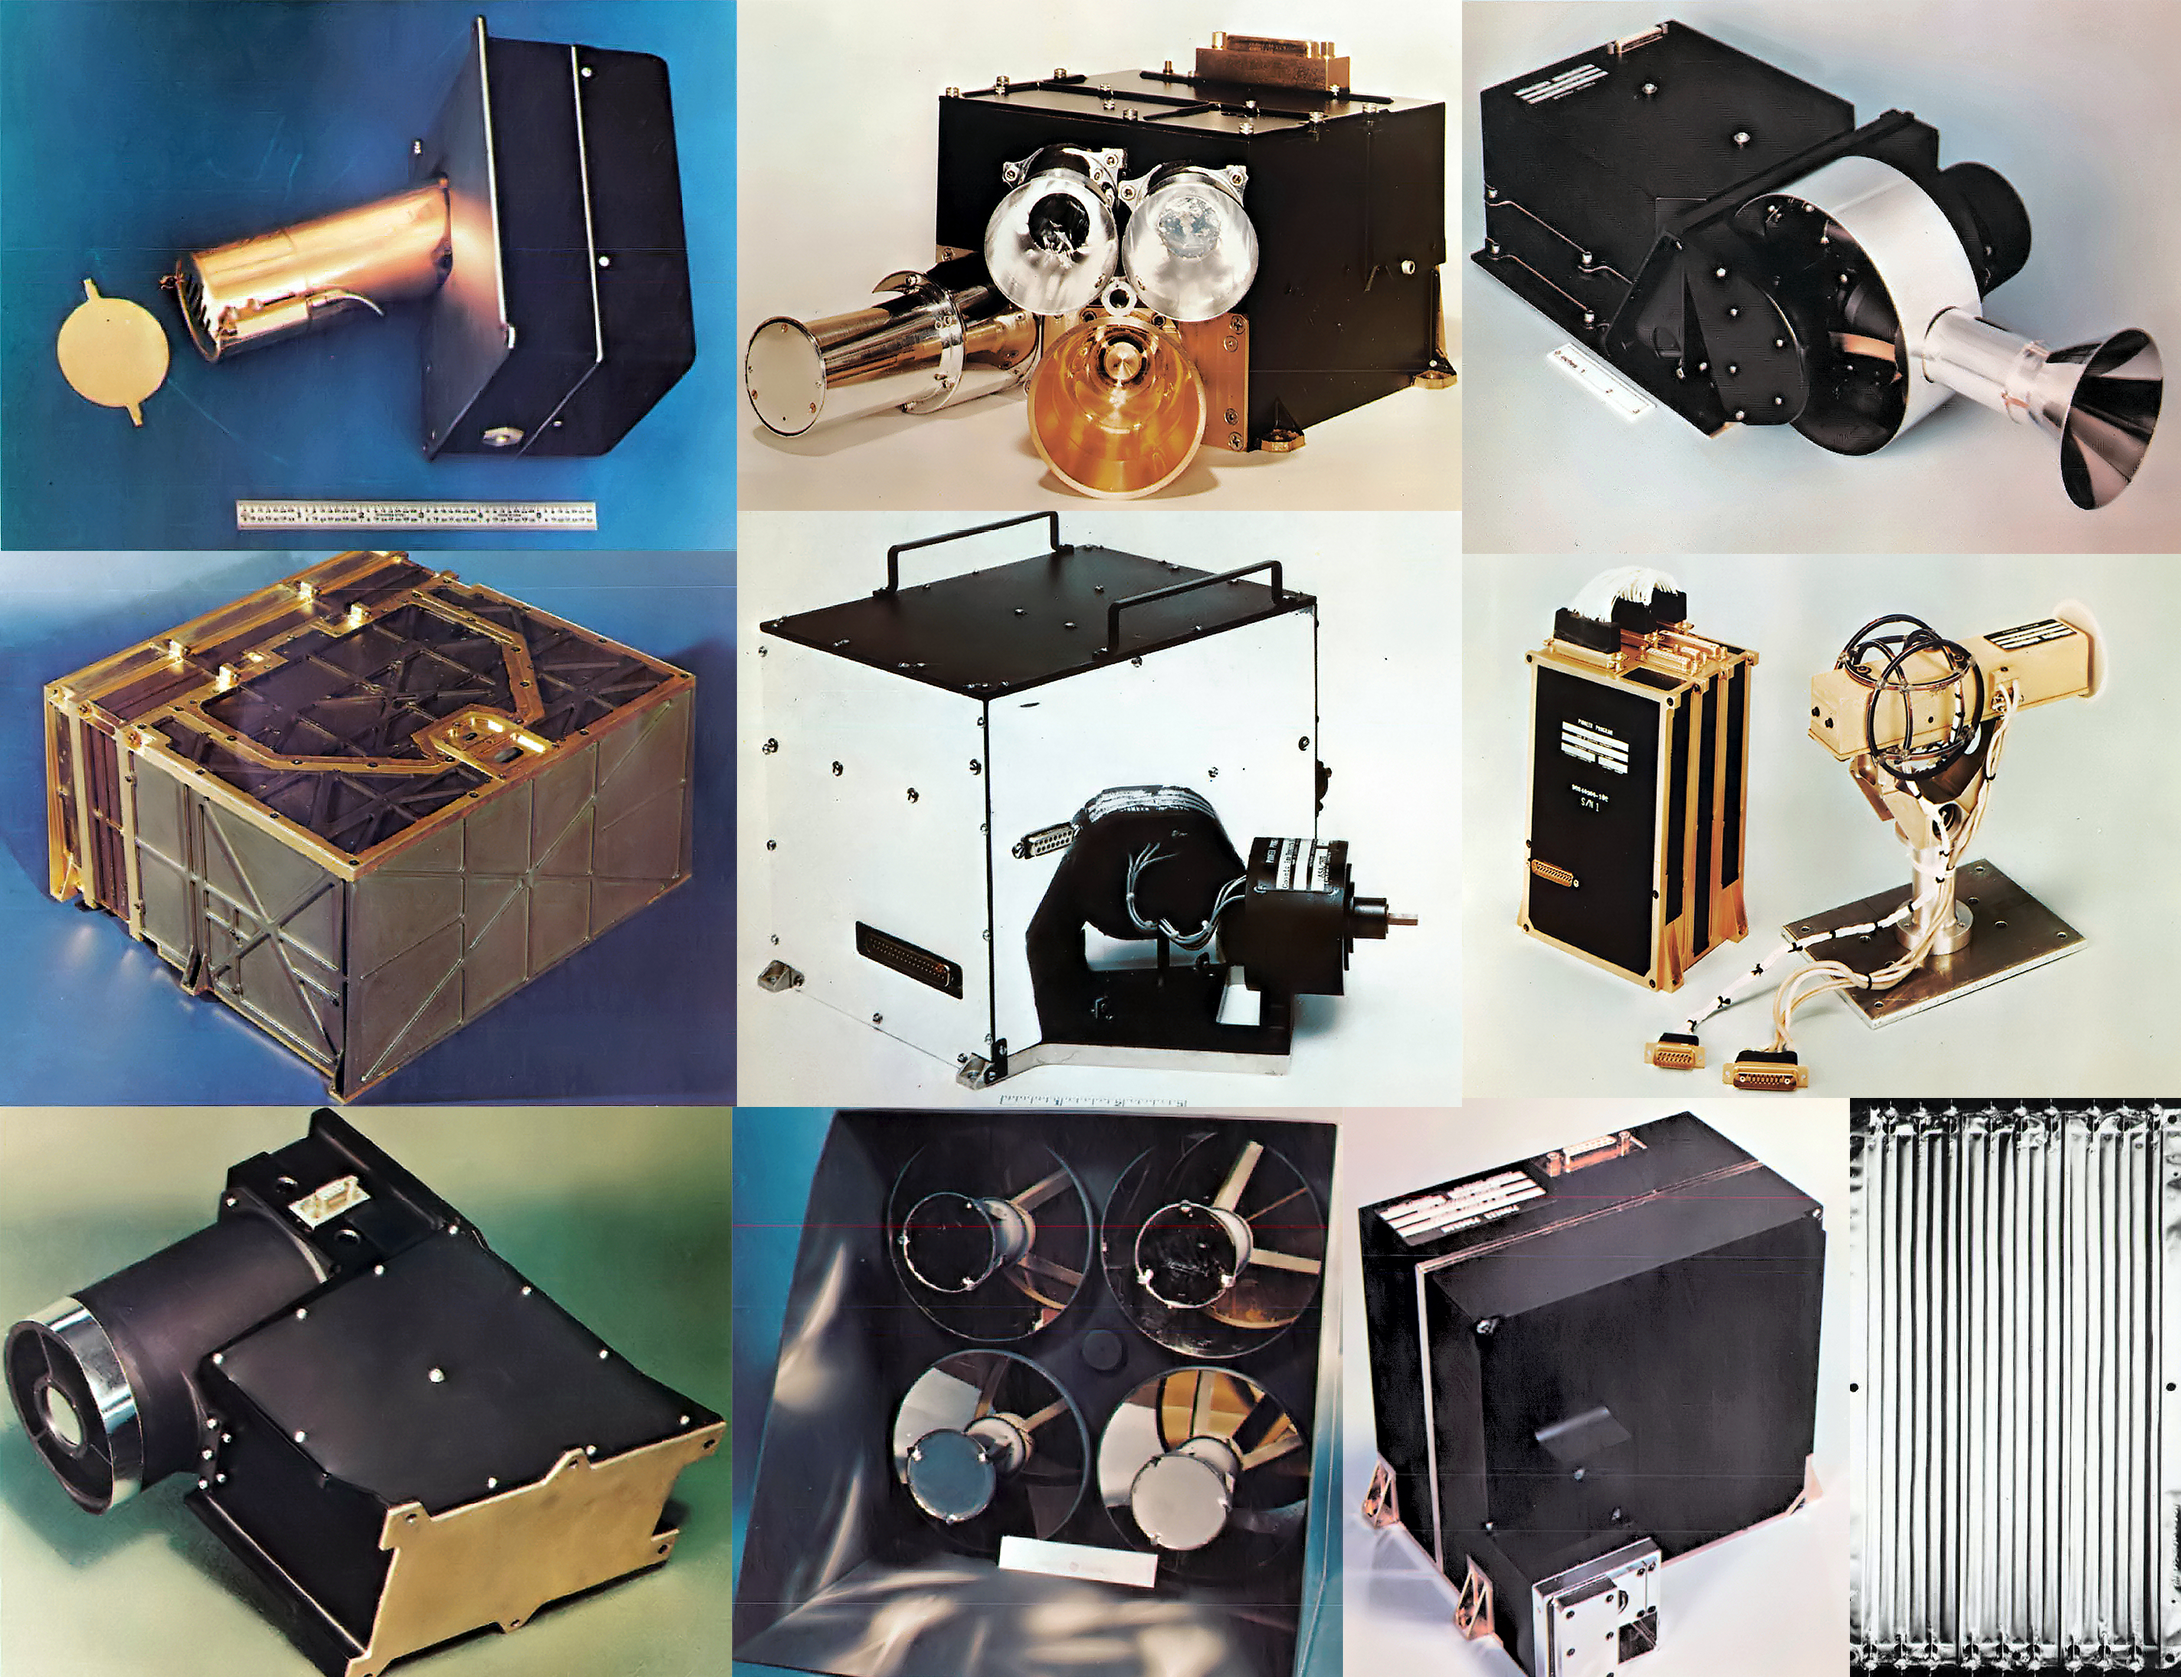
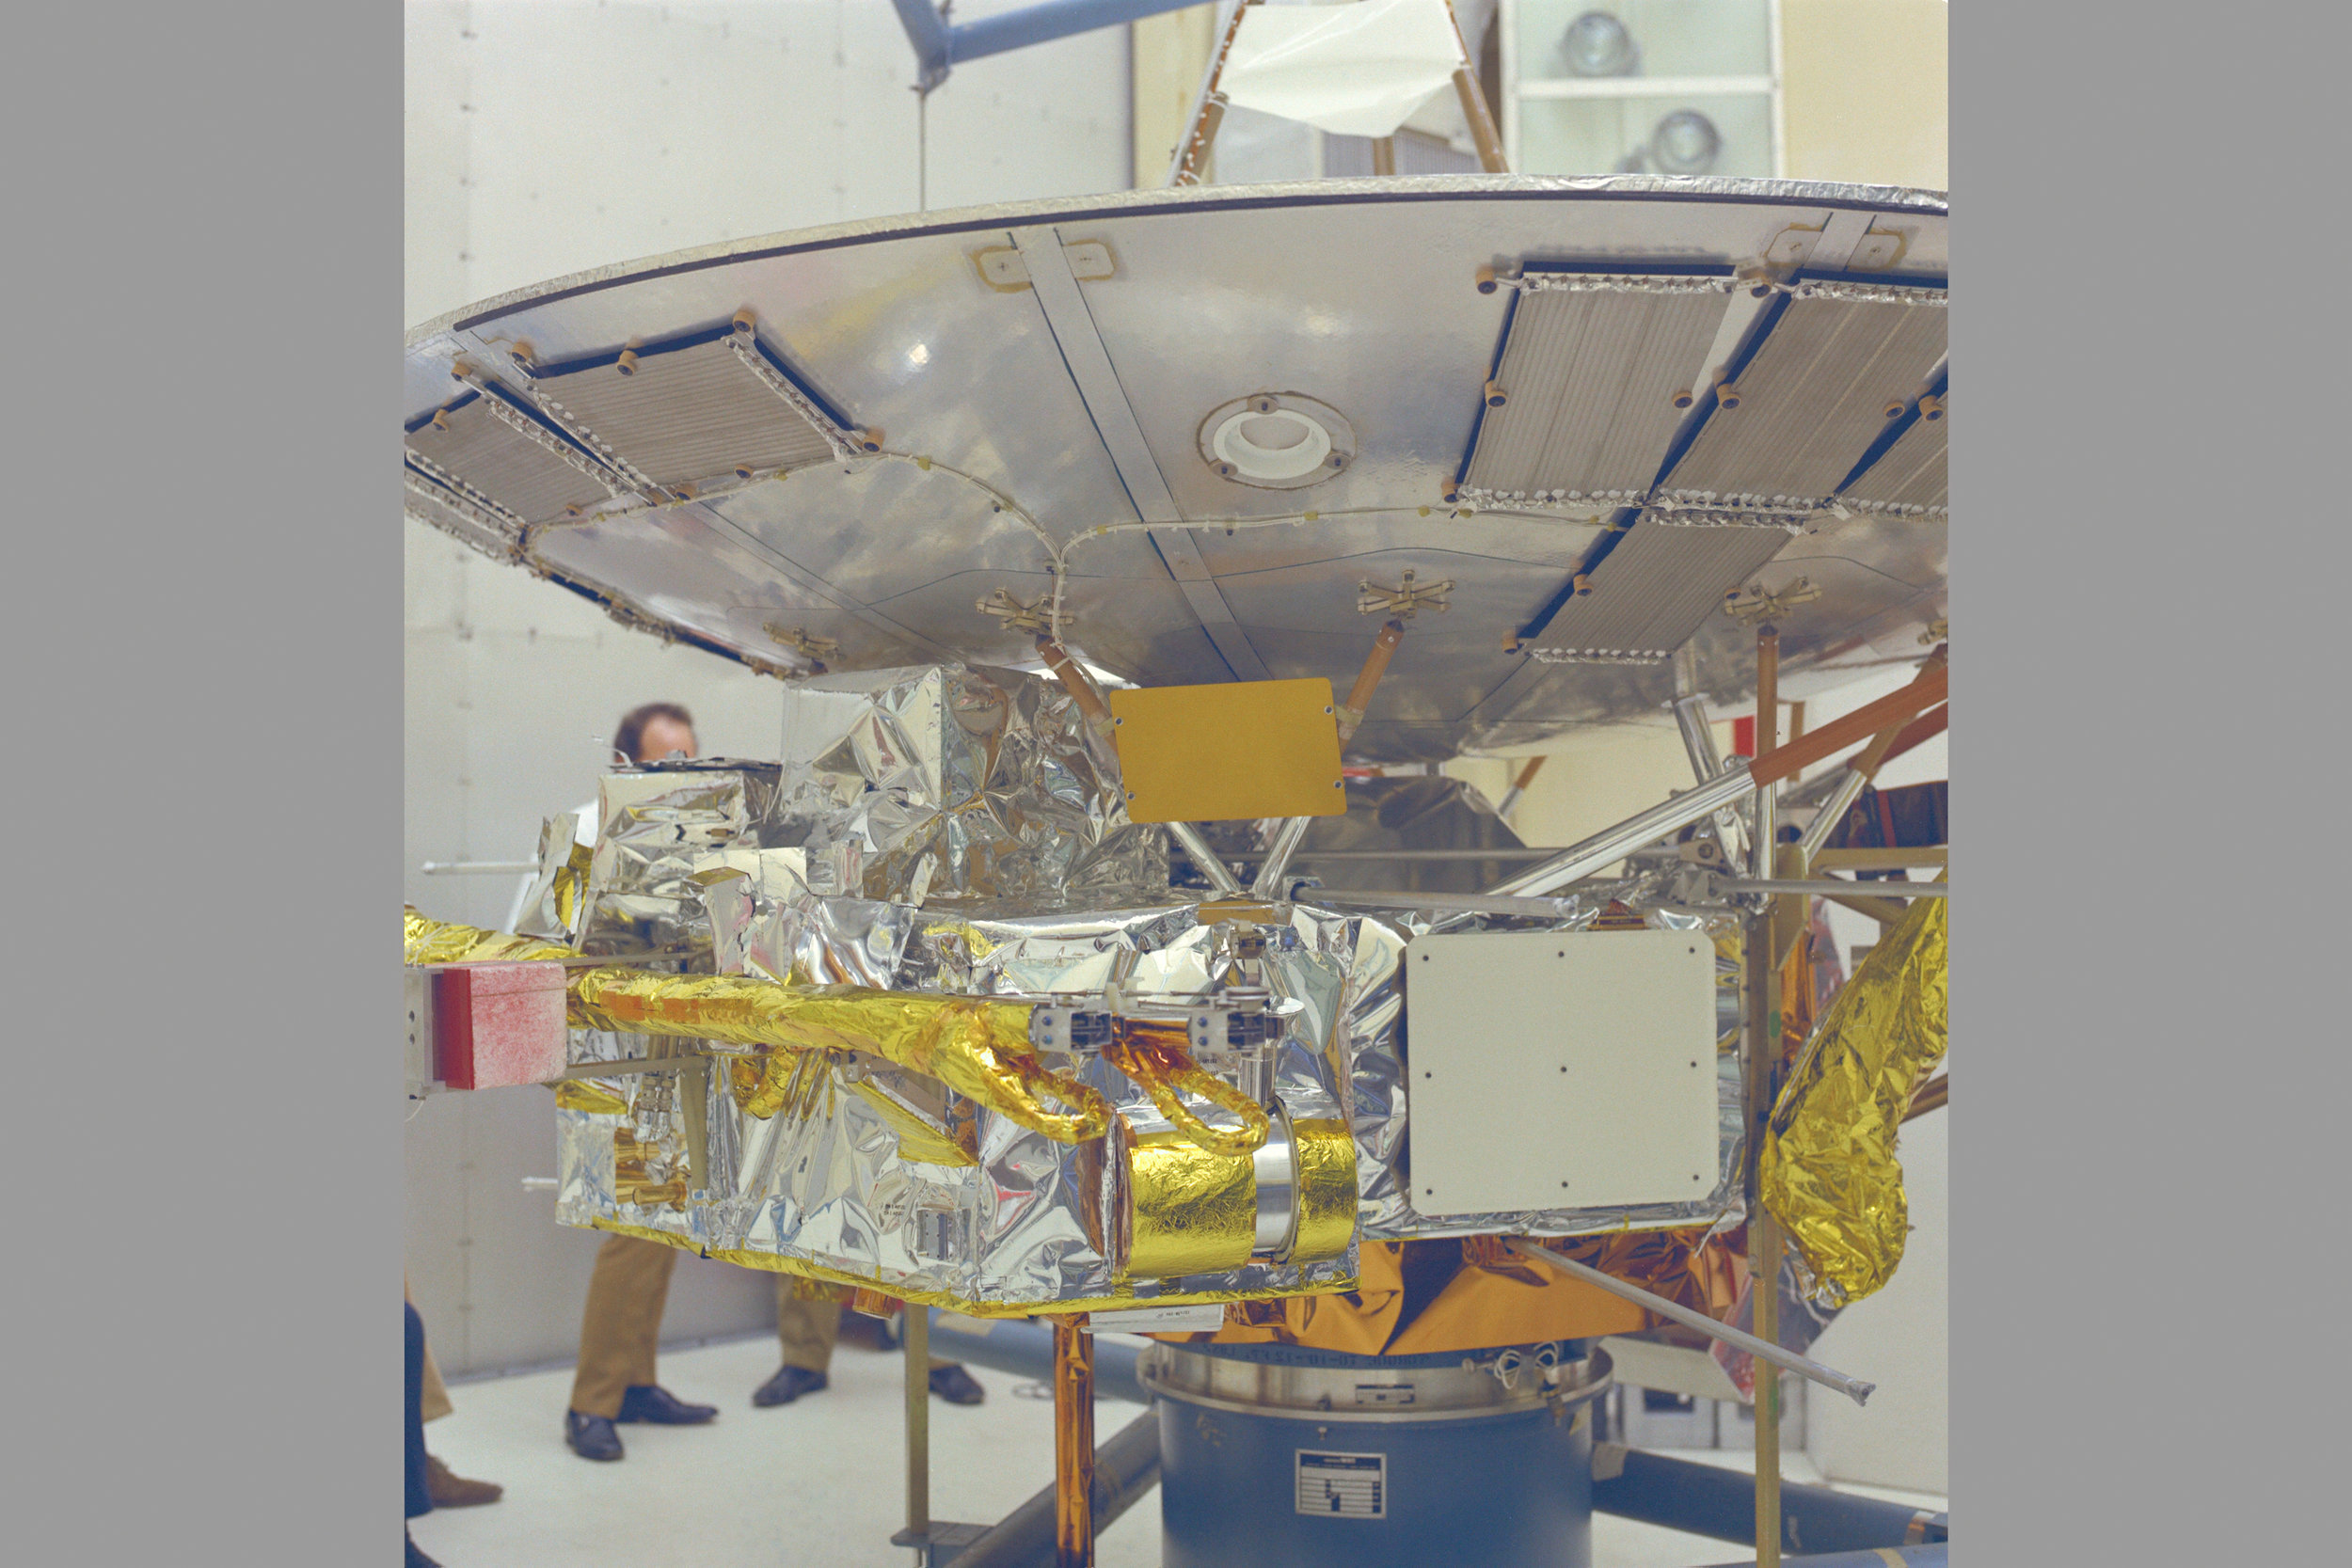
I found a number of technical drawings, and some pictures of individual instruments which really helped when it came to modeling. I was able to create everything to scale, which was ideal given I was rendering with Cinema 4D's Physical renderer (which is physically accurate!). Below are some of the reference images I used.
The first part of the probe that I modeled was the dish, and then piece by piece positioned other devices, connecting supports, wires, nuts, bolts and sensors to the dish, trying to keep as close to the drawings and pictures as I could.
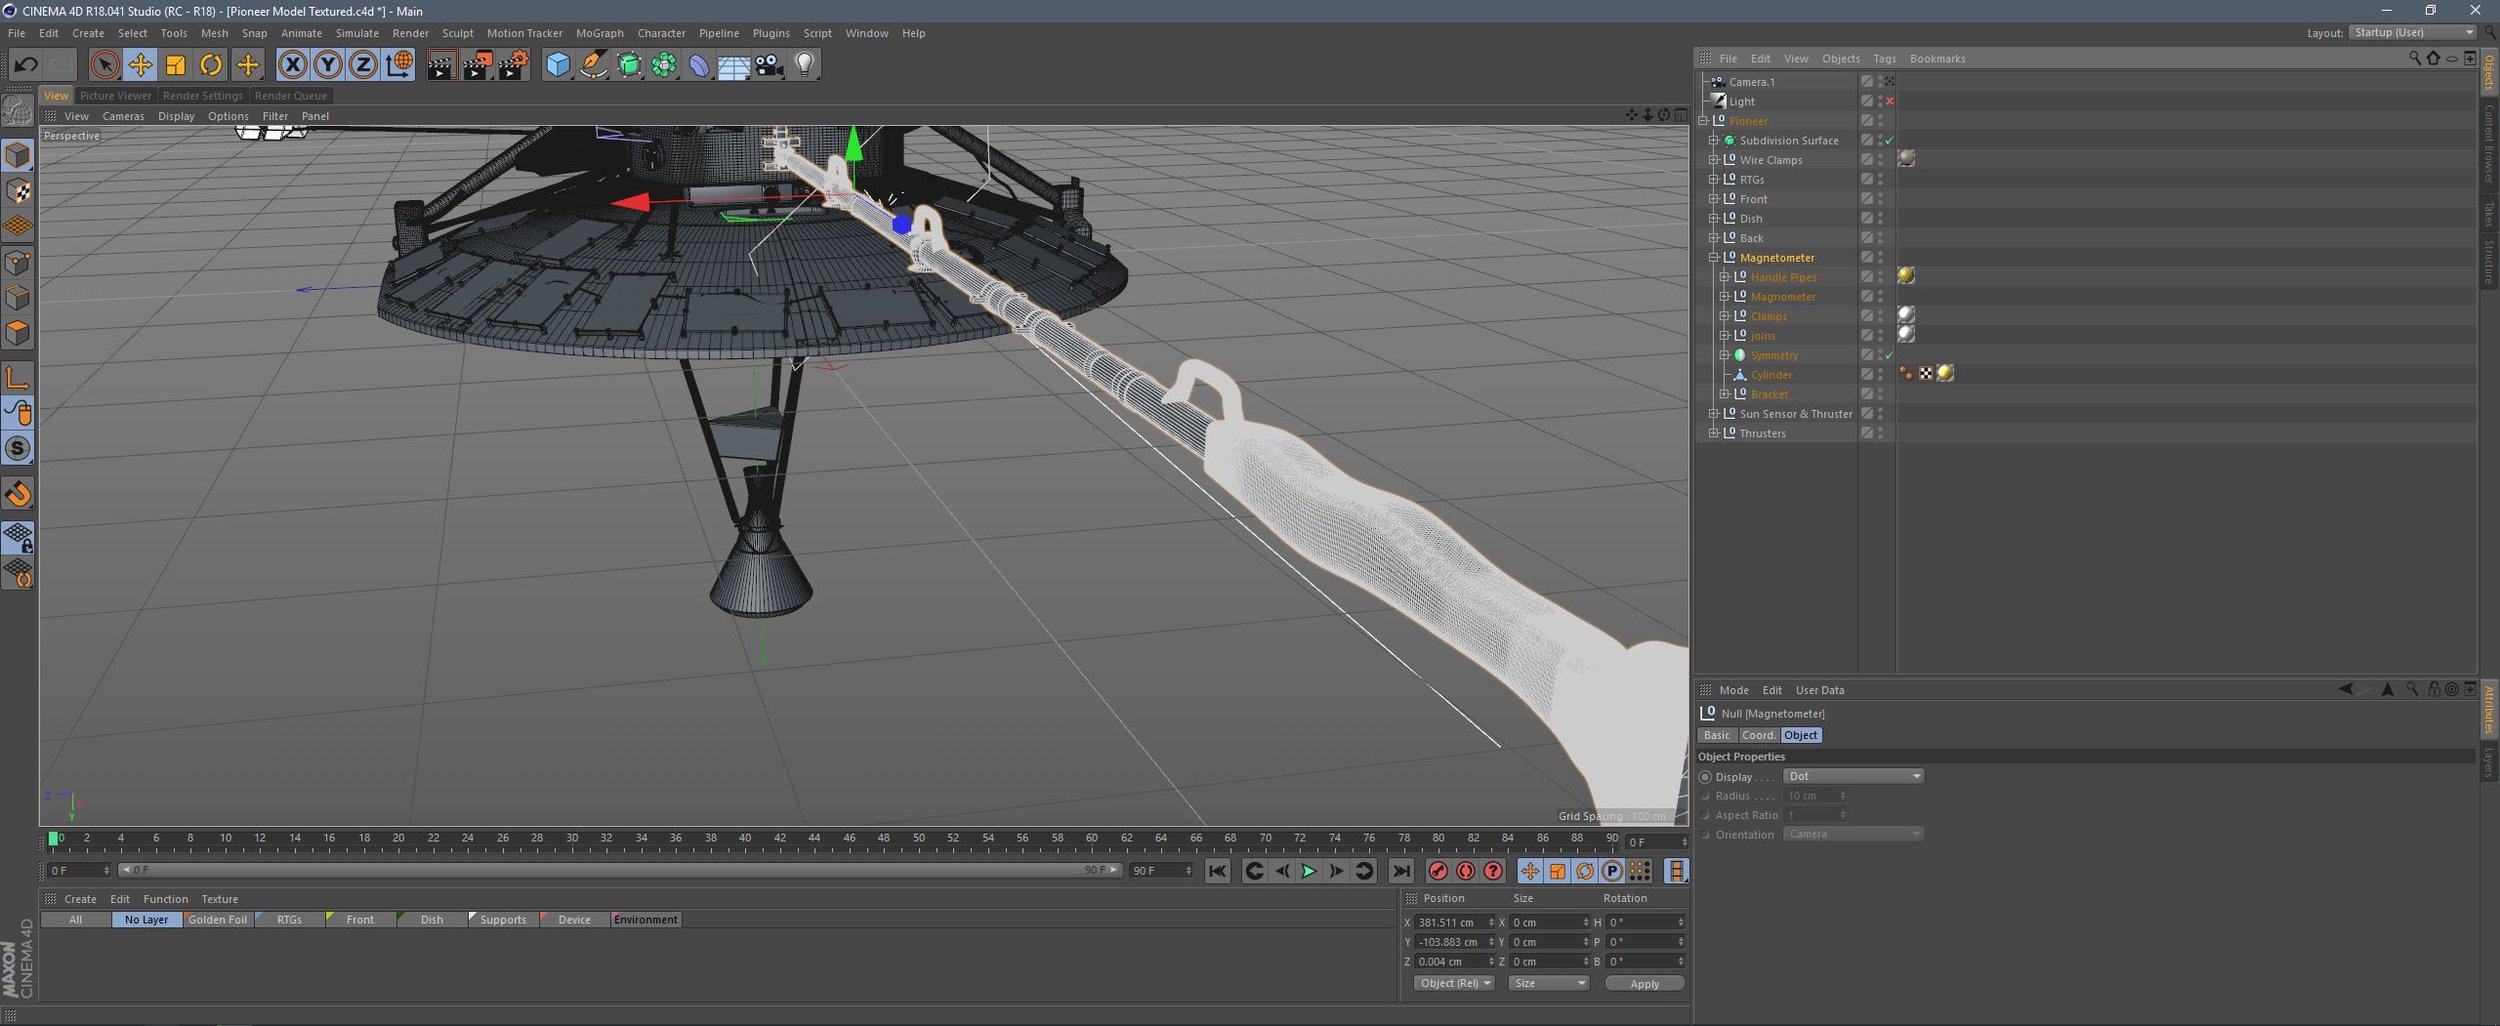
Below are a number of images featuring key groups of models for the probe. I modeled at reasonably high poly count due to using a high detailed sub-poly displacement material for a lot of the surfaces. I went into a large degree of detail as I was unsure how close I would be getting to the probe for some of the shots, so things like screws and bolts were modelled for many parts of the probe. Because the bus (main body) of the probe is covered in a golden foil, I put everything into a subdivision surface to smooth out any edges - also adding more polygons in certain high detail areas would cause the foil material to appear more creased, adding another level of realism.
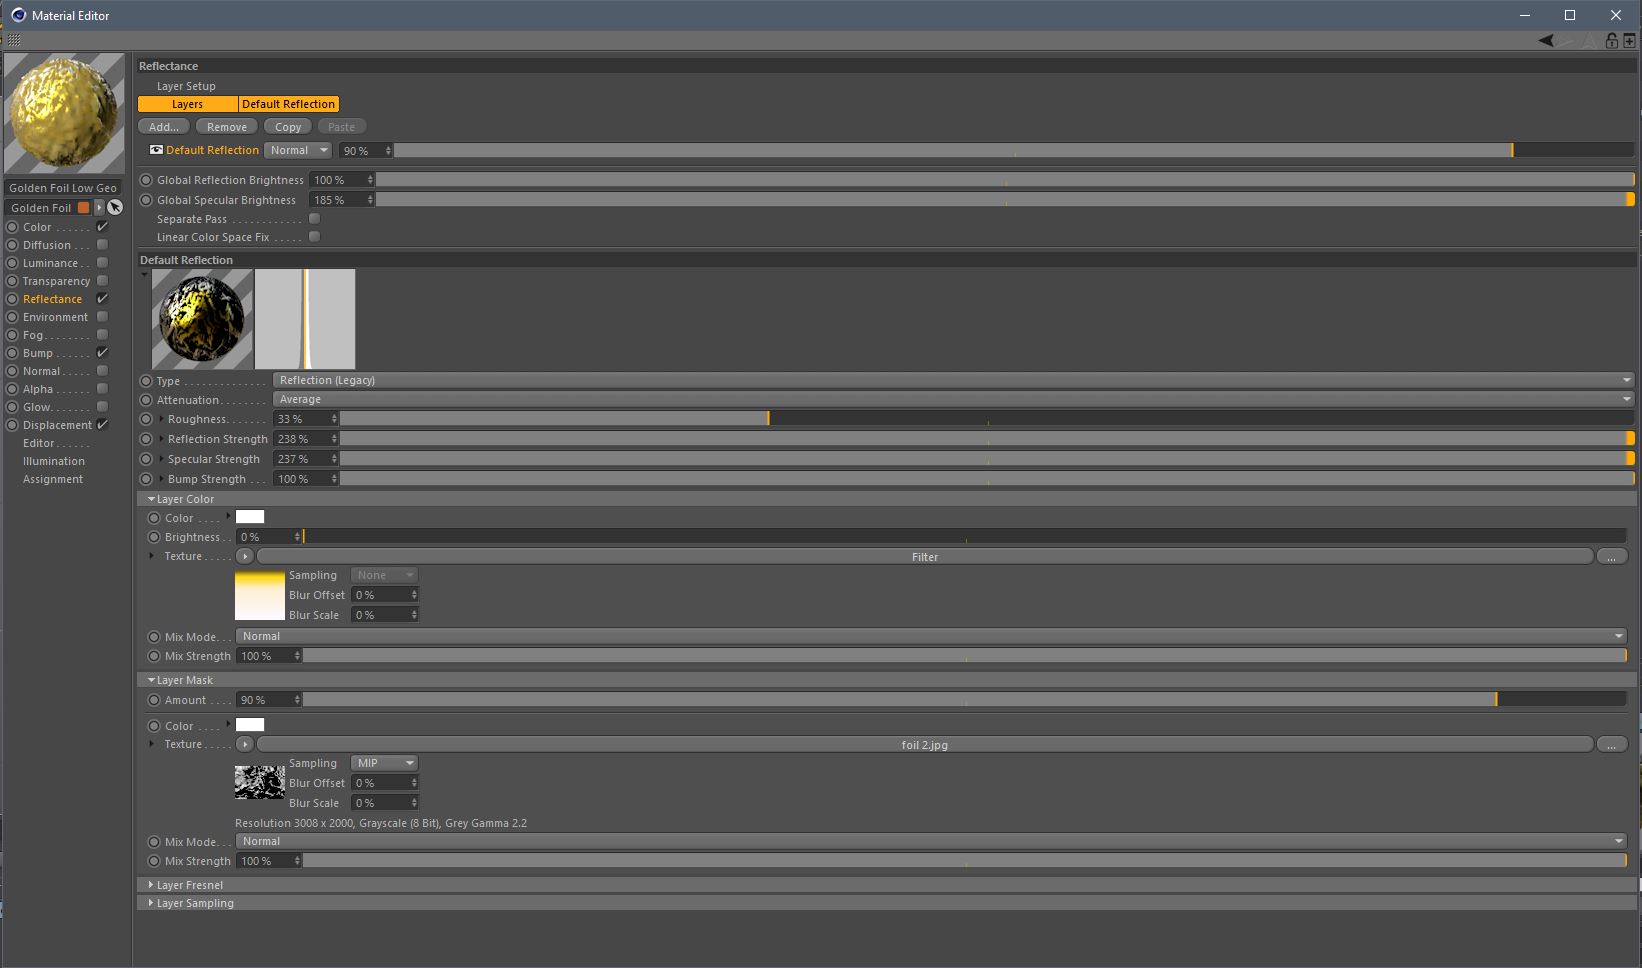
Below is an example of the golden foil material - 3 total versions of this material were made with different subdivision levels according to the geometry the material was being applied to - higher poly areas didn't always need as much sub-poly subdivision. The second image is a screenshot of each of the materials used for the project.


I revisited the model multiple times throughout the project, and made some pretty major changes, adding in more detail and working on look dev for hours getting the foil texture right. In the end, the total number of objects created for the model was 804, and a total of roughly 1 million polygons, which still ran relatively smoothly for playback. Having everything organised meant I could easily turn certain objects on and off to speed up my workflow - and most importantly it made each object very easy to find!
And lastly, the final model rendered out! There'll be plenty of shots to see it in the final film once it's released - which will be very soon now! Thanks for reading.


