Steady progress and some more shots checked off!
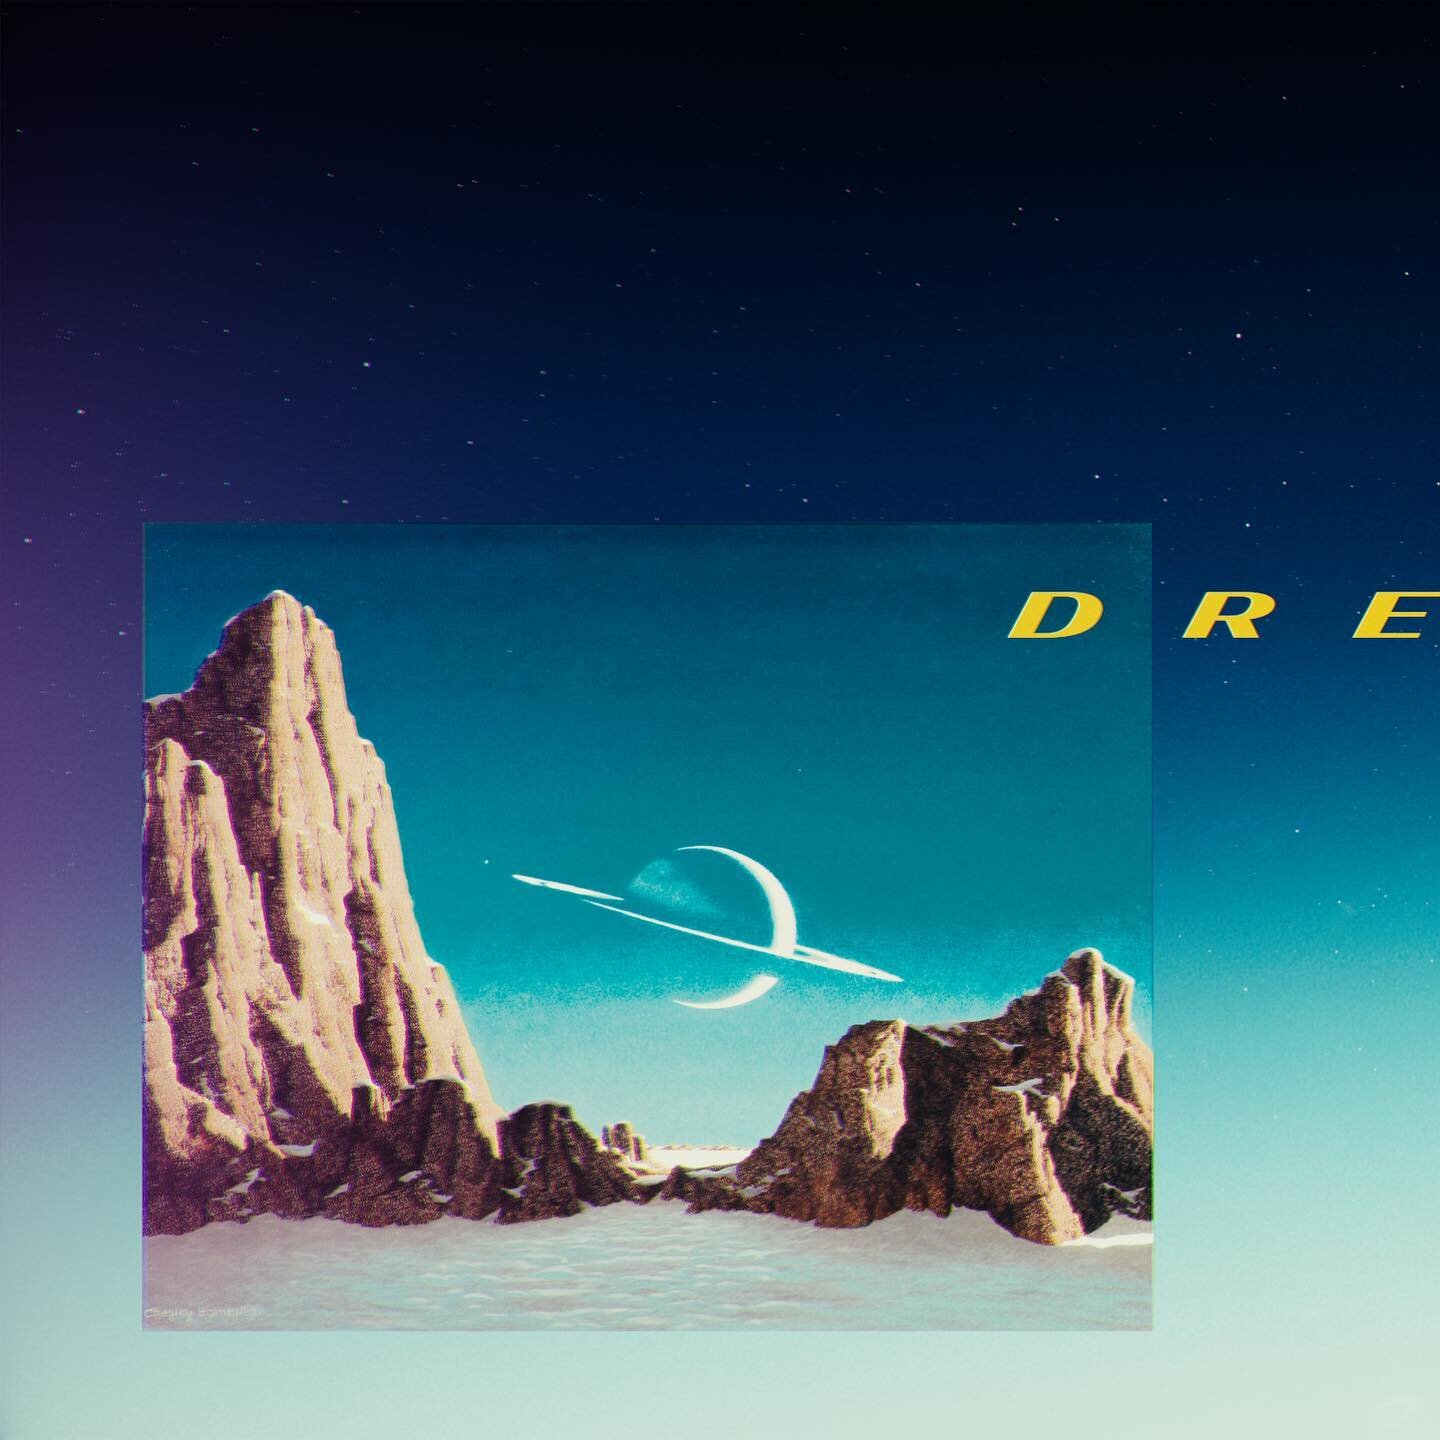
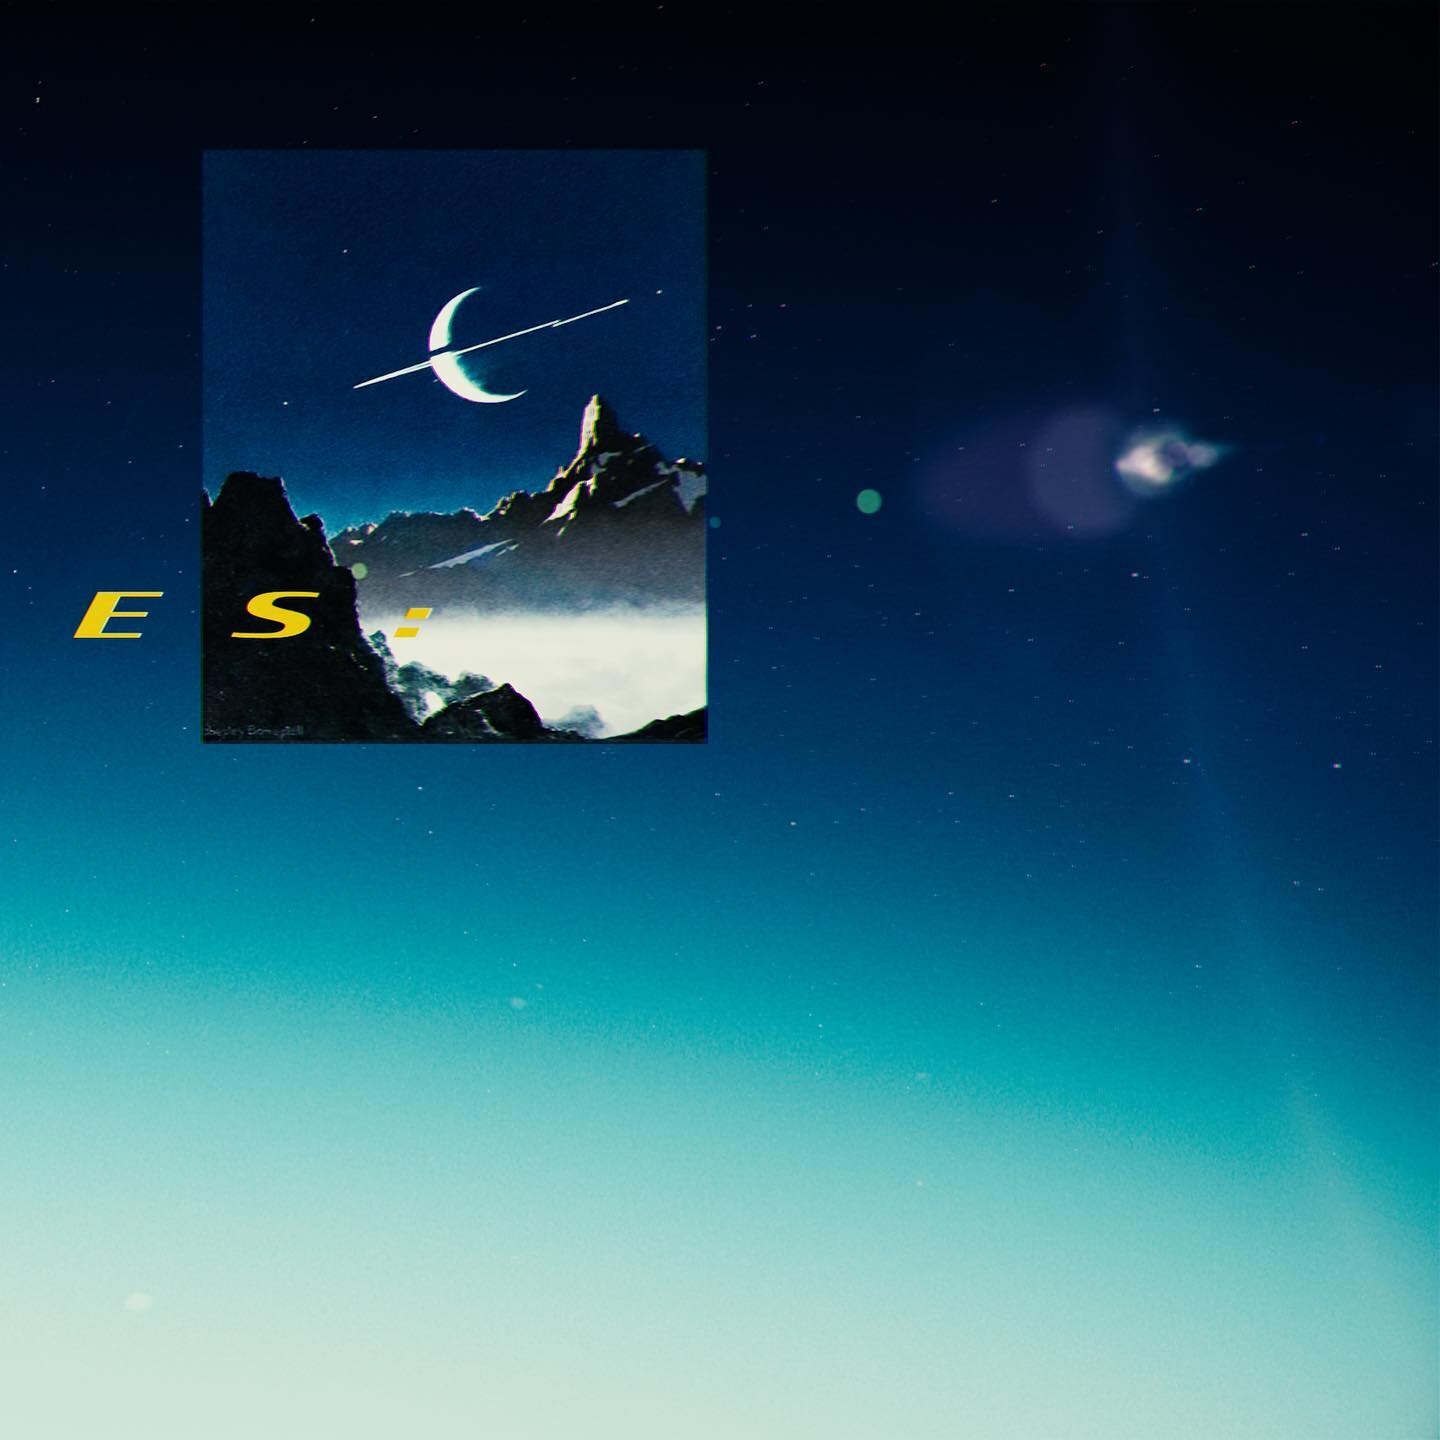
This time we will be looking at the Martian surface, where a number of shots for the film take place. Bonestell painted many artworks depicting the Martian surface, with hypothesised Mars landers, and domed habitats within craters.
Welcome to Mars

An astronaut returning to the Mars Lander.
The Landing
The above is a viewport render from Cinema 4D. The scene, for once, is actually a relatively simple one. The original painting (below) depicts the Mars Lander skimming across the Martian surface on skis. This was the initial idea of how a spacecraft would land on the Red Planet. Of course, now we know that a vertical landing, aided by either a parachute or thrusters, would be the most likely scenario.
My initial plan was to simulate the craft skimming across the surface. However, given that I’m a one-man band with many shots to get through, I made the decision to instead have the craft at a halt and introduce some movement into the shot with an explorer returning to the lander.
As for the craft itself, I created a hybrid between two concepts: the one seen in the painting below and another taken from the cover of The Exploration of Mars (1956). I was lucky enough to find a nearly pristine copy of this book in a charity/thrift shop—they are very hard to find and usually very expensive!

Bonestell’s painting of the Mars Lander.
Below is my reimagination of the painting. I wanted a more silhouetted look, as it helps the reveal in the next shot stand out more. The paintings are all quite similar in colour, and I wanted to ensure that, in the film, there is more distinction from shot to shot, as to steer away from monotony.

My reimagination of the painting
Some Sciencey Bits..
One significant change is the colour tone. While I want to preserve the essence of Bonestell’s paintings, I also aim to incorporate greater scientific accuracy where possible. The original painting portrays a scene with red tones reminiscent of Earth’s sunsets (though the sun’s angle isn’t entirely clear, as the lighting comes from behind the ‘camera’). On Mars, however, sunlight passing through its thin atmosphere interacts with fine dust particles, producing a blue sunset instead of the red and orange hues typical on Earth. This effect, known as forward scattering, occurs because the fine dust scatters blue light more effectively in the forward direction, creating the Martian sunset’s distinct blue glow. That said, I chose to introduce some more familiar sunset colours to help the audience better connect with the scene.
The Technical Bits…
The clouds and dust were simulated in Embergen, then brought into Cinema 4D as VDBs and rendered in Redshift 3D. There is a very subtle sandstorm in the background of the shot to bring some life to the desolate planet. I’ve been working with a fantastic character model, which I have altered slightly to better fit the retro-futuristic astronauts Bonestell drew while keeping them feeling modern enough to suit a scenario where this could actually take place.
The Domed Colony

Bonestell’s painting of a Domed colony on Mars, with Olympus Mons in the background.
This is one of the paintings I was most excited to recreate. The landscape itself was something I really looked forward to generating, as well as working on the composition.
One of the difficulties of moving from World Creator (where I generate the landscapes) into Redshift in Cinema 4D is matching the displacement map (which is calculated at render time) to a proxy geometry mesh in the viewport. The different scales and colour spaces mean getting a perfect match can be a bit of trial and error. I have worked out a reliable way to match the displacement map to the proxy, which I plan to make a short tutorial on—so watch this space!
I love the composition of this shot. There is a lovely separation between the foreground, middleground, and background elements, which I really wanted to capture. One thing, however, that I wanted to change was the sense of scale. Something about the size of the domes didn’t quite work for me, as it seemed to minimize the size of the crater wall around the colony. Below is what I came up with.
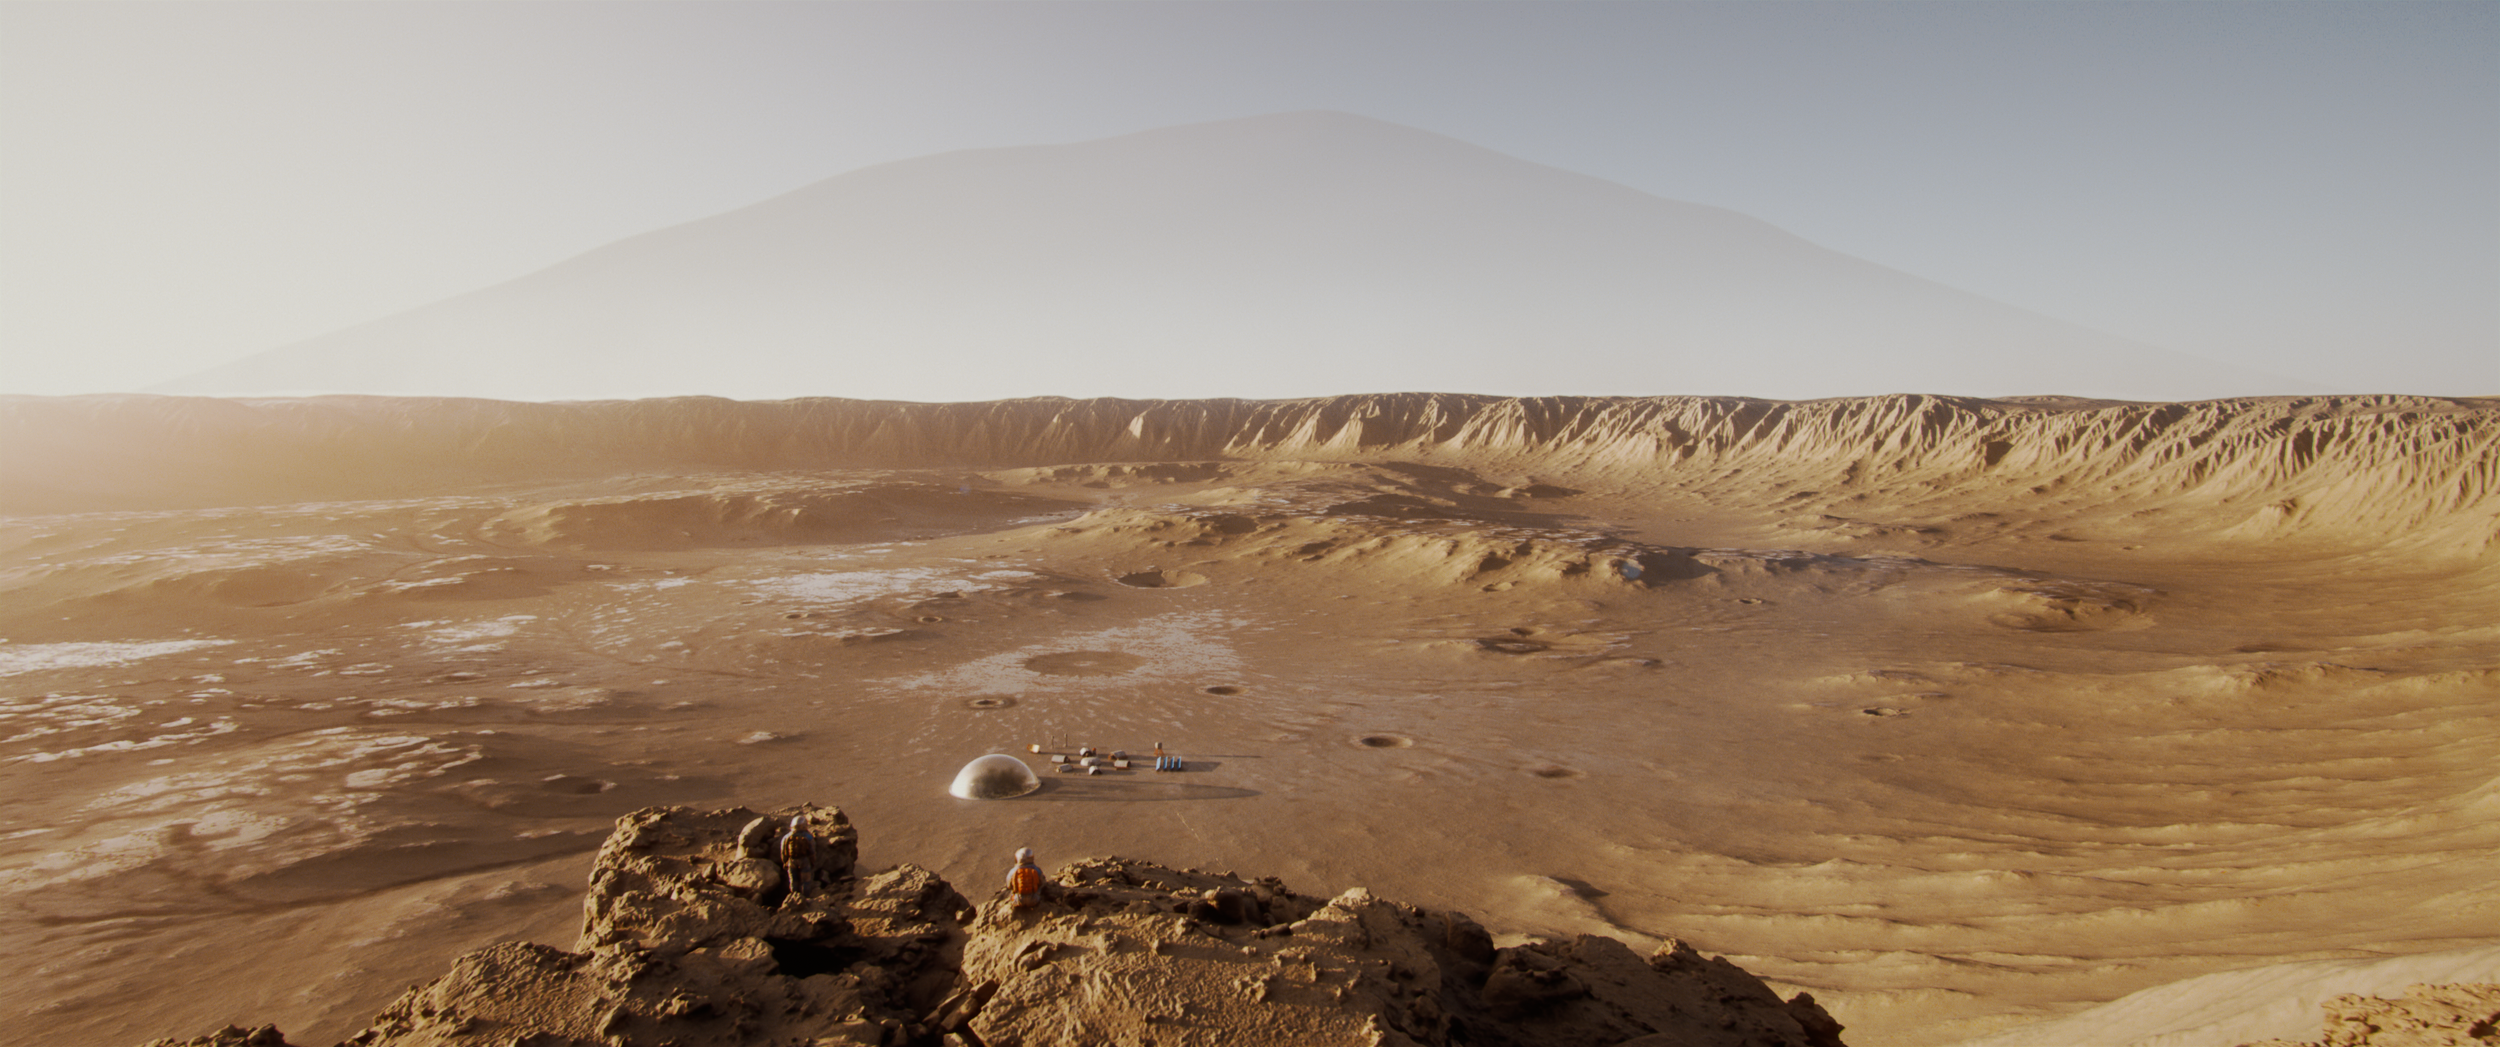
My recreation
Some other technical considerations for this shot included the atmospheric scattering of sunlight. The density changes from the surface of the planet, visible where Olympus Mons rises out of the atmosphere. This was created with a couple of techniques, which I’d be happy to make a short tutorial on.
In short, pulling the scene data out within a volume material using a Redshift ‘State’ node allowed me to clamp the volume and remap it with a gradient to control where the scattering took place (scene left, and below a certain value on the Y-axis). This allowed me to have some sun rays creeping over the crater’s rim to the left and occlude the bottom of the mountain (which was rendered separately and combined in post). I then used additional layers in After Effects to very slightly break up the volume.
Arrival, Life, Death
As always, I don’t want to share everything, so below is a teaser for the next shot on Mars. When the film releases, there will be a much more detailed write-up of each shot with much more concept material, technical breakdowns, and WIPs (including the ones we’ve already covered), which I can’t wait to share.

I hope you enjoyed reading this latest installment of my development diary.